How To Restring Your Electric Guitar

We've been restringing guitars and basses (and all manner of instruments in fact) for decades now; so we're pretty well versed in it. Here's how we do it...
First, let me acknowledge that there are varying schools of thought about how we should restring our guitars. Also let me add that we genuinely have tried them all and some are just as effective as the method we’ll outline below, but we like this one!
NB. If your guitar has a floating trem (Floyd Rose or similar) I’ll add in some modifications to each step, highlighted in orange. However, restringing a Floyd Rose is a whole separate guide!
THE PRINCIPLE
The method we’ve adopted is a self-locking, simple tie-lock that works on almost every guitar with machine heads.

WHAT YOU WILL (DEFINITELY) NEED:
- flat, clean work surface
- neck rest (or cushion)
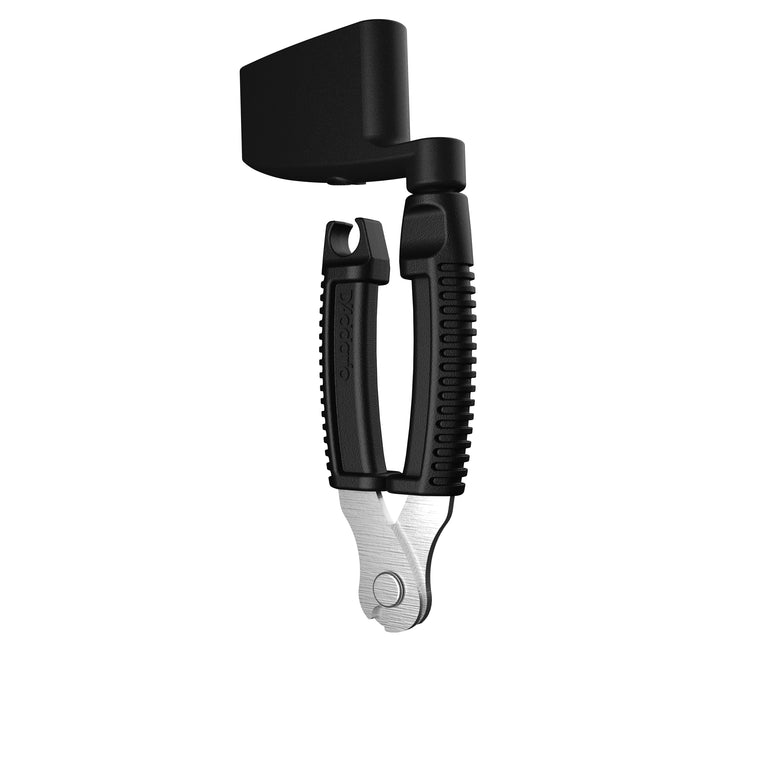
- wire cutters
- new strings
- appropriate Allen keys (for Floyd Rose style guitars)
Optional extras:

Set? Let’s begin…
STEP 1: OFF WITH THE OLD STRINGS
 Once your guitar is on the bench in a working position, you’ll first need to remove the old strings. Start by loosening off all of the strings to a point where there is no tension. Yes, it’s completely fine to do this and it won’t damage the guitar. Once that’s done you can cut the strings with your wire cutters; somewhere in the middle of the neck is fine.

Trem: before loosening off the strings make sure to ‘block off’ or fix the trem in place so it stays level and doesn’t sink when you remove the strings. This will avoid a few trem-specific issues and save you a lot of time later when tuning back to pitch. A chunky Allen keys works really well for this; just make sure to wrap it in a cloth so it can’t scratch the finish.

STEP 1.1: CLEAN THE FRETBOARD AND THE SPACE BETWEEN THE PICKUPS
If you have the time, right now is a perfect opportunity to clean the fingerboard, and around the frets, as well as the awkward spaces between and around the pickups. This is much easier to do while the strings are off.


STEP 2: ON WITH THE NEW
Now, uncoil the new strings from their packet and thread each one through its specific hole in the bridge/tailpiece. This may be through the back of the body on a Strat or Tele. If you have a tune-o-matic style assembly then it may be simplest to take the tailpiece off and thread the strings through that first.


From here on you’ll need to repeat each step for each string individually…
… oh, and I’ve approached this as a right-handed player. If you’re a lefty just swap the hands around.

STEP 3: SLACK.
3.1
- Without the string in the machine head turn the post so that the string hole (or slot on a vintage Strat) is in line with the centre of the neck. Now take the string and thread it through the machine head post.

3.2
- At this point, with your left hand pull the string through the post so that you get a little bit of tension and then with your right pull the string vertically away from the fretboard about 8-10cm.

3.3
- Now with your left hand again bend the string to 90° toward the centre of the headstock. You’ve now got the perfect amount of slack string ready for winding!

STEP 4: LOCK.
So you now have a string with the perfect amount of slack and bent toward the centre of the headstock. All we’re going to do now is run the end of the string around the back of the post and loop it under itself.


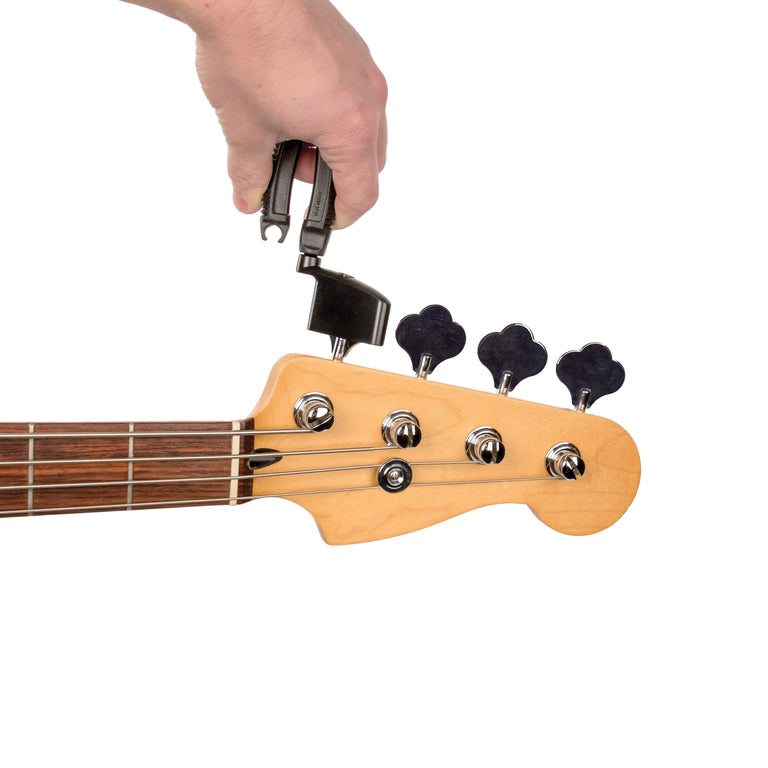
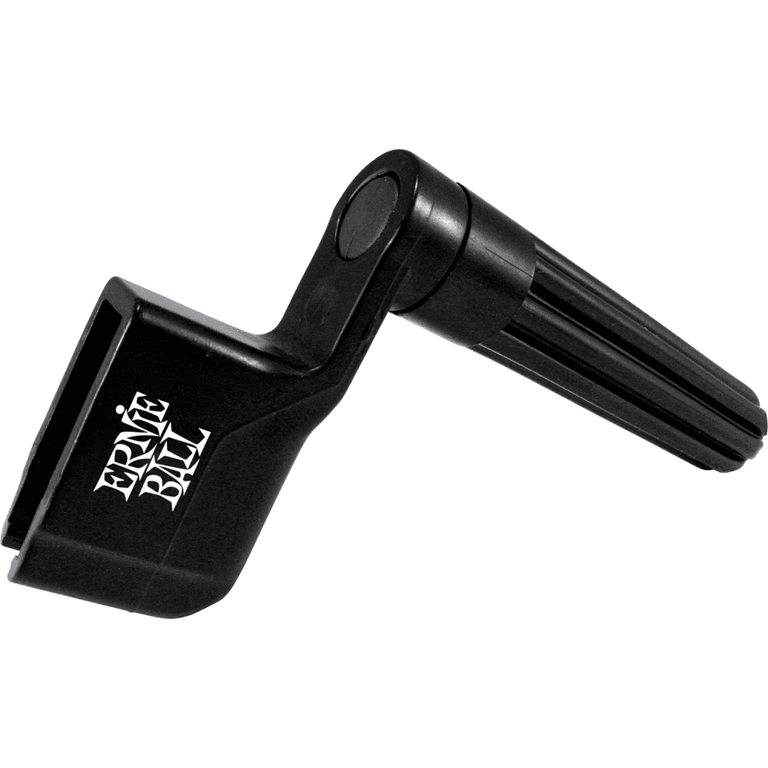
STEP 5: WIND IT UP.
Grab your string winder! Now with your right hand hold the string just after the nut and apply some gentle downward pressure at the same time as winding - this will help you ensure the string winds down the post. Once at pitch you can now trim the excess string.

STEP 6: TUNE, STRETCH, TUNE.
Tune the string up to pitch - always UP to pitch, if you overshoot loosen off a little and tune back up to pitch rather than down to pitch. Now gently stretch the string in a couple of places. I like to stretch just above the neck pickup and then just before the nut. Now retune.

Repeat steps 3-6 for every string and then check the tuning of all six strings together. Then you're done!
* * * * *
And, here's just a cool picture of that Gibson Les Paul!


![D'Addario NYXL Nickel Wound 11-56 Electric Guitar Strings, D-Tuned [NYXL1156]](http://www.stringsdirect.co.uk/cdn/shop/products/NYXL1156_detail1_hi-res_768x768_crop_center.jpg?v=1689010566)
![D'Addario NYXL Nickel Wound 11-56 Electric Guitar Strings, D-Tuned [NYXL1156]](http://www.stringsdirect.co.uk/cdn/shop/files/D_Addario-NYXL-NPS-6-String-UPDATE_66931b0d-e838-4dd0-9283-8126d6873f90_768x768.png?v=1705328148)


![D'Addario NYXL Nickel Wound 9-42 Electric Guitar Strings, Light [NYXL0942]](http://www.stringsdirect.co.uk/cdn/shop/products/NYXL0942_detail1_hi-res_768x768_crop_center.jpg?v=1689010645)
![D'Addario NYXL Nickel Wound 9-42 Electric Guitar Strings, Light [NYXL0942]](http://www.stringsdirect.co.uk/cdn/shop/files/D_Addario-NYXL-NPS-6-String-UPDATE_f030b748-897f-43a2-b86b-bee52f0f8c61_768x768.png?v=1705327898)
![D'Addario NYXL Nickel Wound 9-46 Electric Guitar Strings, Regular Light [NYXL0946]](http://www.stringsdirect.co.uk/cdn/shop/products/NYXL0946_detail1_hi-res_768x768_crop_center.jpg?v=1689010651)
![D'Addario NYXL Nickel Wound 9-46 Electric Guitar Strings, Regular Light [NYXL0946]](http://www.stringsdirect.co.uk/cdn/shop/files/D_Addario-NYXL-NPS-6-String-UPDATE_a354ea38-33e5-404f-b939-be81d006f087_768x768.png?v=1717689964)
![D'Addario NYXL Nickel Wound 10-46 Electric Guitar Strings, Regular [NYXL1046]](http://www.stringsdirect.co.uk/cdn/shop/products/NYXL1046_detail1_hi-res_768x768_crop_center.jpg?v=1689010524)
![D'Addario NYXL Nickel Wound 10-46 Electric Guitar Strings, Regular [NYXL1046]](http://www.stringsdirect.co.uk/cdn/shop/files/D_Addario-NYXL-NPS-6-String-UPDATE_125a1e41-9360-4d7d-a6ae-73356a14900c_768x768.png?v=1705327995)
![D'Addario NYXL Nickel Wound 11-49 Electric Guitar Strings, Jazz Rock [NYXL1149]](http://www.stringsdirect.co.uk/cdn/shop/products/NYXL1149_detail1_hi-res_768x768_crop_center.jpg?v=1689010541)
![D'Addario NYXL Nickel Wound 11-49 Electric Guitar Strings, Jazz Rock [NYXL1149]](http://www.stringsdirect.co.uk/cdn/shop/files/D_Addario-NYXL-NPS-6-String-UPDATE_7bfa63c4-17a5-4f37-9eba-f5bf1c1484b5_768x768.png?v=1705328059)
![D'Addario NYXL Nickel Wound 11-52 Electric Guitar Strings, Heavy Bottom [NYXL1152]](http://www.stringsdirect.co.uk/cdn/shop/products/NYXL1152_detail1_hi-res_768x768_crop_center.jpg?v=1689010559)
![D'Addario NYXL Nickel Wound 11-52 Electric Guitar Strings, Heavy Bottom [NYXL1152]](http://www.stringsdirect.co.uk/cdn/shop/files/D_Addario-NYXL-NPS-6-String-UPDATE_8bbc7b59-3e5b-488b-97cd-4ae8dfff33c5_768x768.png?v=1705328128)
![D'Addario NYXL Nickel Wound 10-52 Electric Guitar Strings, Heavy Bottom [NYXL1052]](http://www.stringsdirect.co.uk/cdn/shop/products/NYXL1052_detail1_hi-res_768x768_crop_center.jpg?v=1689076556)
![D'Addario NYXL Nickel Wound 10-52 Electric Guitar Strings, Heavy Bottom [NYXL1052]](http://www.stringsdirect.co.uk/cdn/shop/files/D_Addario-NYXL-NPS-6-String-UPDATE_8e7674ca-84de-457f-a7ba-61a641124b4e_768x768.png?v=1705328042)
![D'Addario NYXL Nickel Wound 9.5-44 Electric Guitar Strings, Light+ [NYXL09544]](http://www.stringsdirect.co.uk/cdn/shop/products/NYXL09544_detail1_hi-res_768x768_crop_center.jpg?v=1689010658)
![D'Addario NYXL Nickel Wound 9.5-44 Electric Guitar Strings, Light+ [NYXL09544]](http://www.stringsdirect.co.uk/cdn/shop/files/D_Addario-NYXL-NPS-6-String-UPDATE_f10ba4a3-d4d9-44c4-a608-debb0f58de0e_768x768.png?v=1705327958)